Home DIY Projects DIY with SmartPave – Transform Your Outdoor Space in a Weekend
DIY with SmartPave – Transform Your Outdoor Space in a Weekend
Looking to upgrade your outdoor space? With Strol SmartPave, a sustainable, DIY-friendly solution, you can easily transform pathways, driveways or patios in just a weekend. SmartPave is an innovative permeable paving system designed for easy installation, water permeability and weed prevention. It has eco-friendly benefits such as excellent water management and is made from recyclable materials. Best of all, creating a permeable outdoor space with SmartPave is a project you can confidently take on yourself or get the family involved, perfect for any DIY enthusiast!
Why Choose SmartPave Permeable Paving?
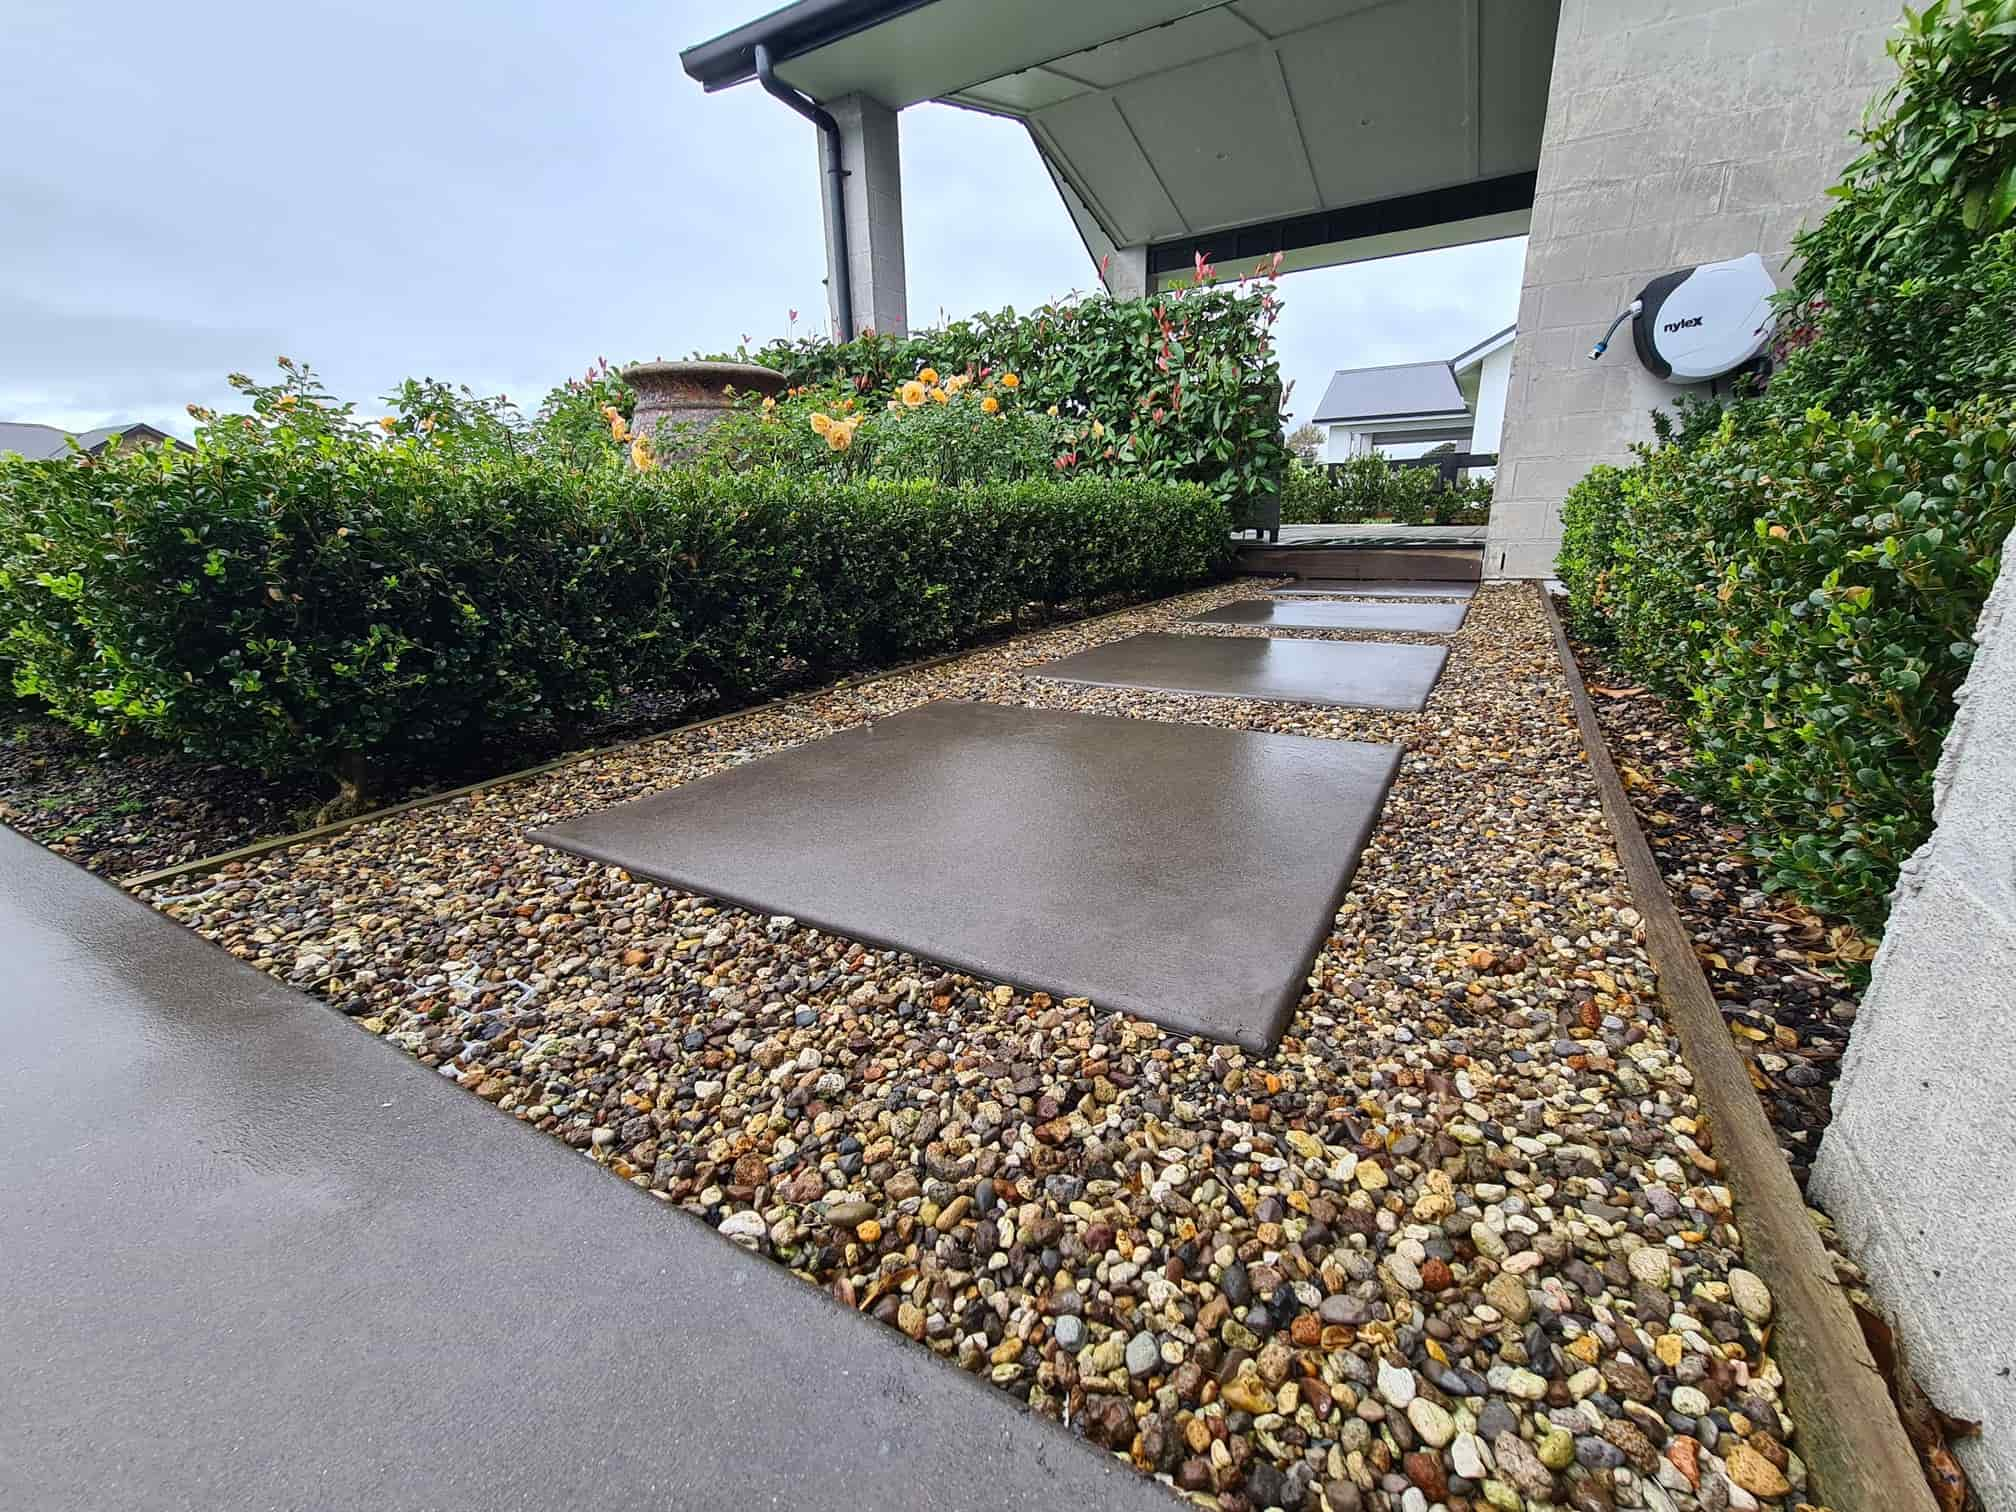
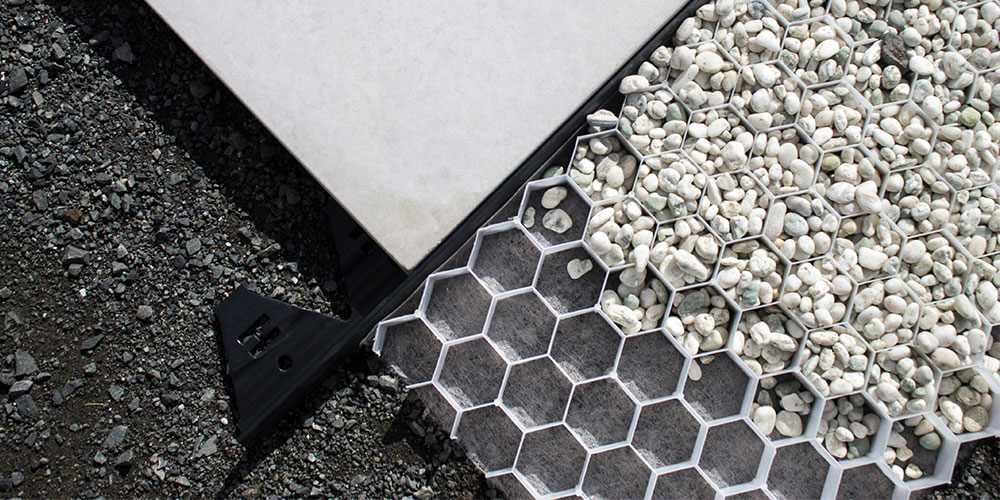
- Easy installation: The key benefit of SmartPave is that it comes with a tough geotextile backing already bonded to the paver. This removes that extra step of adding a geotextile layer between the subsoil and drainage aggregate layers, making installation that much easier.
- Water permeability: The geotextile backing bonded to each SmartPave paver allows water to evenly drain through, preventing pooling, dirty runoff and scouring.
- Eco-friendly: SmartPave pavers are made from materials that can be recycled at the end of their design life. They can also be reused, which is great if you have plans to redesign in the future. SmartPave also promotes healthier stormwater management. By reducing scouring and dirty runoff, more clean excess water during storms enters your stormwater systems, preventing clogging and silt build up further down the line.
- Cost-effective: A true DIY solution not only saves on installation costs but also gives you the satisfaction of transforming your space. You’ll add value to your home without the labour cost.
How to Install SmartPave – A Step-by-Step Guide
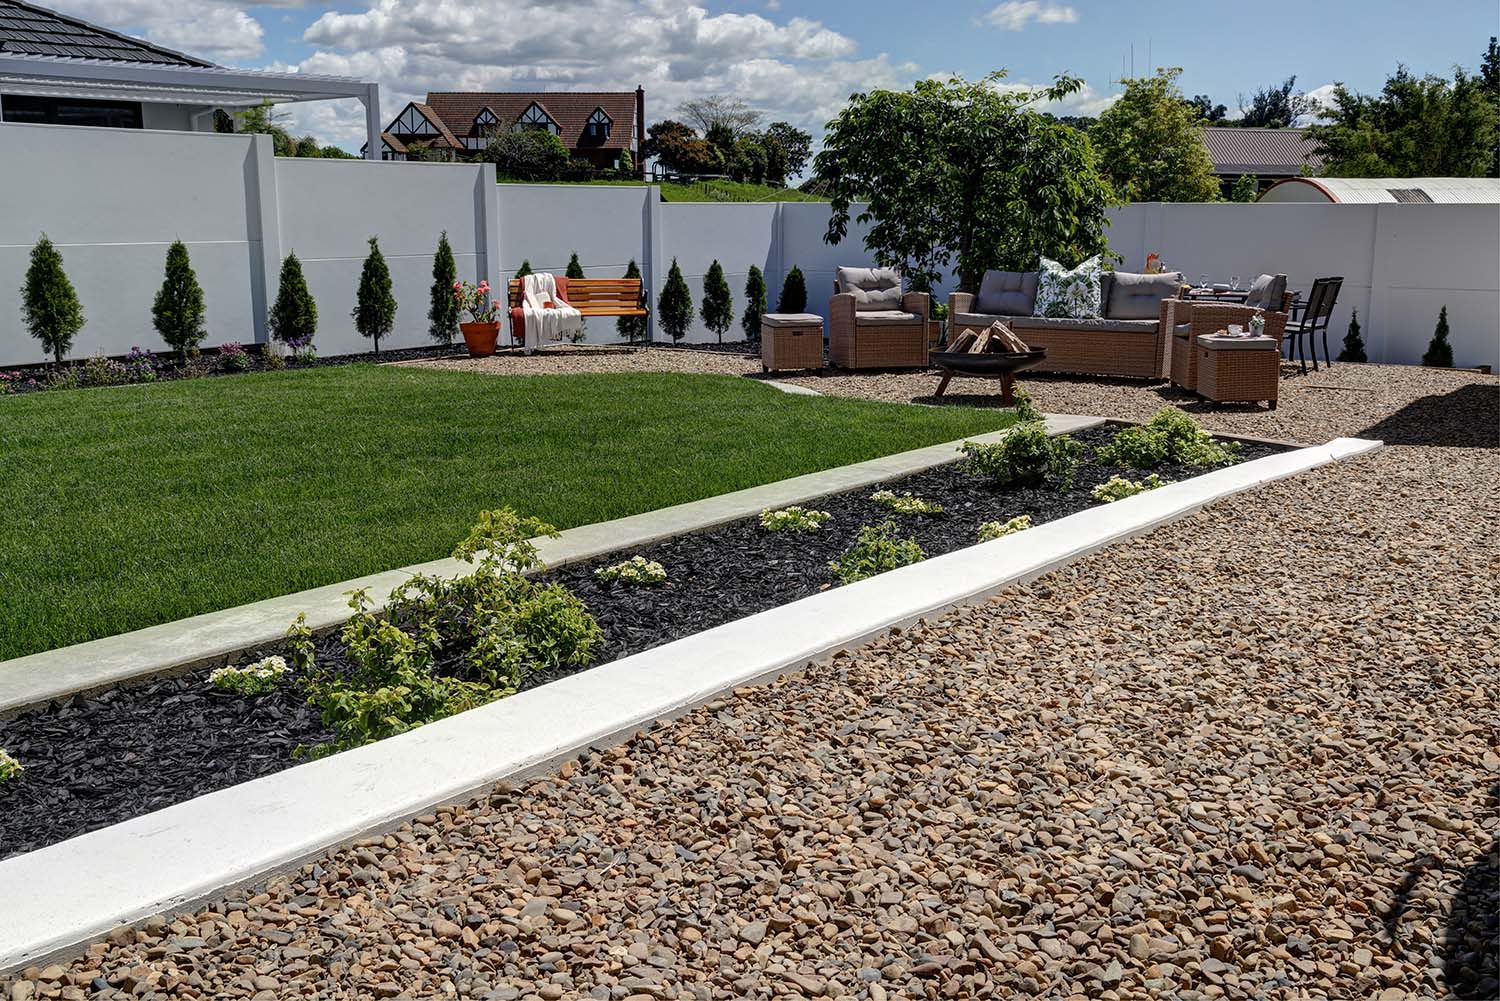
Ready to get started? Here’s a step-by-step guide to installing SmartPave and creating a beautiful, sustainable outdoor area.
- Preparation
Before you lay any pavers, proper site preparation is essential:
- Clear the area: Remove any existing grass, debris, or old paving.
- Excavate: Dig down to a depth of 100mm. Be sure to remove any sharp stones or tree roots that could interfere with the installation.
- Slope the surface: It’s a good idea to create a slight angle leading toward stormwater drains or garden beds to ensure effective water drainage.
Tip: For larger areas, consider hiring a digger to save time.
- Base Layer
- Lay the foundation: Start by adding a 50mm layer of compacted GAP20 (graded aggregate).
- Add a 20mm layer of sand or crusher dust. This creates a smooth surface for the pavers to settle into and protects the geotextile beneath.
Tip: Compacting the base ensures a solid foundation that supports the permeable paving while.
- Lay SmartPave Panels
- Start in one corner: Place your first SmartPave panel in the lower left corner of your space, ensuring the extended geotextile lengths extend to the right and top.
For small gaps, SmartPave is easy to trim with a hand or circular saw to fit neatly around edges, curves or drainpipes.
- Fill the Pavers
- Choose your filling material: For best results, use 7-14mm decorative stones or pebbles. This not only looks great but also promotes water permeability.
- Fill the panels: Distribute the stones evenly across the panels until they sit just above the surface.
Tip: Using an outdoor broom to evenly spread the crusher dust and stones can save time compared to shovelling.
Tips & Tricks for a Perfect SmartPave Installation
- Ensure proper compaction: Compacting the base layer properly helps prevent water from creating dips or ruts beneath the pavers. This will keep your surface level and stable over time.
- Try our Paving Calculator: Unsure how much material you’ll need? Use the Strol Paving Calculator! Enter the dimensions of your space and traffic load, and it will recommend the correct quantities and materials for your project.
- Secure pavers with Ground Staples: To ensure the pavers stay in place, especially in areas that will experience vehicle traffic, secure them with Strol Ground Staples.
Now that your hard work is done, it’s time to enjoy your newly transformed outdoor space. Whether it’s a driveway, patio or path, the SmartPave permeable design ensures that water drains effectively, reducing maintenance and providing a durable, eco-friendly surface for years to come.
By following these steps, you can create a professional-looking and eco-friendly space, all while saving on labour costs. So, why wait? Start your DIY permeable paving project with Strol SmartPave this weekend and transform your outdoor space with ease. Enjoy the satisfaction of knowing you’ve not only improved your outdoor area but also contributed to a more sustainable environment—Enhancing Tomorrow with every SmartPave paver you lay.


